The Ultimate Guide to Restoring Vintage Photos
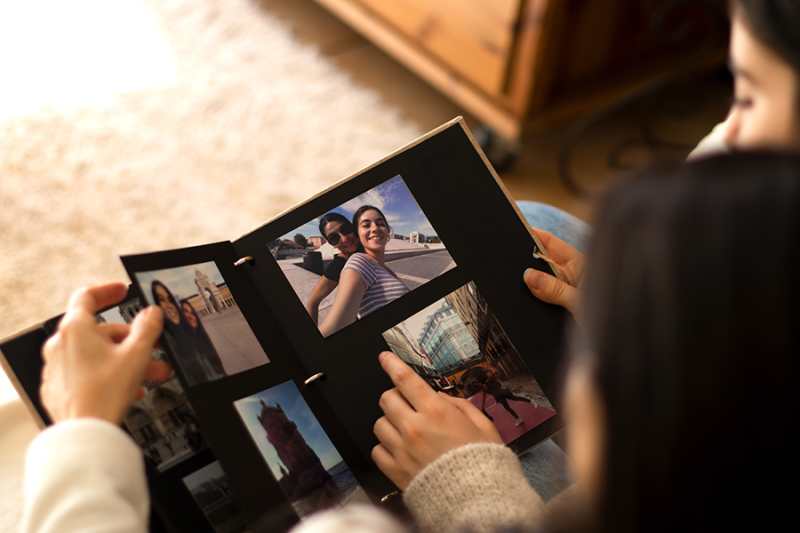
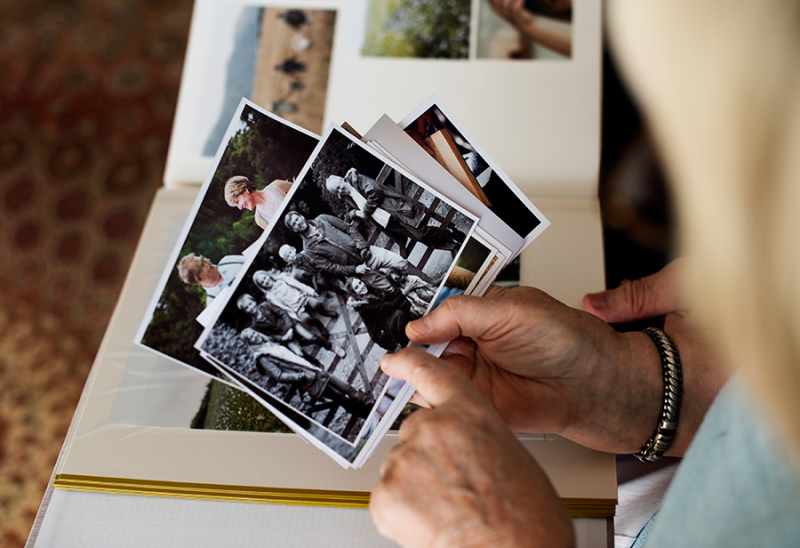
Old photographs connect us to our past, offering a priceless glimpse into the lives of those who came before us. These tangible memories, however, can fade, tear, and stain over time. Photo restoration breathes new life into these cherished images, allowing future generations to enjoy them. Learning how to restore vintage photos preserves your family's history and ensures these irreplaceable moments are not lost to time.
This will walk you through the essential steps and techniques for restoring old photos back to their former glory. From initial scanning to digital repairs, you will find clear, straightforward instructions to help you start your photo restoration project. Whether you want to repair a single treasured photograph or digitize an entire family album, the process is accessible and deeply rewarding.
What Materials Do I Need to Restore Photos?
Before you begin, gathering the right materials will make the process much smoother. You will need a combination of physical and digital tools to handle your vintage photos with care and precision.
For the physical handling and scanning part of the project, you should have:
- A high-resolution flatbed scanner: This is crucial for creating a high-quality digital copy of your photo. A scanner with at least 600 DPI (dots per inch) is recommended, but 1200 DPI or higher is even better for detailed work.
- Lint-free cotton gloves: Wearing gloves prevents fingerprints and oils from your hands from damaging the delicate surface of old photos.
- A soft, clean brush or compressed air: Use this to gently remove any dust or debris from the photo's surface before scanning. Avoid using any liquids or harsh cleaners.
For the digital restoration phase, you will need:
- Photo editing software: Adobe Photoshop is the industry standard and offers a comprehensive set of tools for restoration. GIMP is a powerful free alternative, and other programs like Adobe Lightroom and Affinity Photo also have excellent features.
- A computer with sufficient processing power and memory: Digital photo files, especially high-resolution ones, can be large. A capable computer ensures the software runs smoothly without lag.
How Do I Prepare Photos for Restoration?
Proper preparation is the foundation of successful photo restoration. The first step is to create a high-quality digital copy of your physical photograph. This digital file is what you will work on, which keeps the original, fragile print safe from any potential damage during the editing process.
Before scanning, put on your lint-free gloves. Gently clean the surface of the photograph using a soft brush or a can of compressed air to remove any loose dust or particles. Place the photo face down on the flatbed scanner, ensuring it is straight.
Set your scanner to a high resolution, at least 600 DPI, but preferably 1200 DPI for older, more detailed images. Scanning at a high resolution captures the maximum amount of detail, which gives you more information to work with during the digital repair phase. Save the scanned image as a TIFF file. TIFF is a lossless format, meaning it preserves all the original image data without compression, which is ideal for editing.
How Do I Crop and Straighten an Image?
Once you have your scanned image open in your photo editing software, the first edits you should make are cropping and straightening. Many old photos may have been scanned at a slight angle or have distracting, damaged borders that you want to remove.
Use the "Crop" tool in your software to trim away any unwanted areas. Most cropping tools also have a straightening feature. In Photoshop, you can use the "Straighten" tool within the Crop tool's options by drawing a line along an edge in the photo that should be perfectly horizontal or vertical, like a horizon or the side of a building. The software will automatically rotate the image to align with the line you drew.
How Do I Adjust an Image's Exposure and Contrast?
Over time, vintage photos often lose their original vibrancy. They can appear faded, too dark, or washed out. Adjusting the exposure and contrast can dramatically improve the image's overall quality and bring back lost detail.
Use the "Levels" or "Curves" adjustment tools in your photo editing software. These tools give you precise control over the tonal range of the image. The "Levels" tool allows you to set the black, white, and mid-tone points of the photo, which can correct overall brightness and contrast. The "Curves" tool offers even more nuanced control, letting you adjust specific parts of the tonal range. By making small, careful adjustments, you can restore a balanced and natural look to your photo without losing important details in the shadows or highlights.
How Do I Correct an Image's Color?
Color photos from past decades often suffer from color shifts. You might see a strong yellow, red, or blue cast over the entire image. Correcting these color imbalances is a key step in making the photo look natural again.
Your photo editing software will have several tools for color correction. The "Color Balance" tool allows you to add or subtract specific colors from the shadows, mid-tones, and highlights.
For example, if your photo has a yellow tint, you can add blue to the mid-tones to neutralize it. Another useful tool is "Photo Filter," which can apply a cooling or warming filter to counteract an unwanted color cast. Some software also includes an "Auto Color" function, which can be a good starting point, but manual adjustments usually yield better results.
How Do I Repair Scratches and Dust?
Scratches, dust, and small blemishes are common imperfections on old photos. Thankfully, digital tools make it relatively easy to remove them. The most effective tool for this task is the "Spot Healing Brush."
The "Spot Healing Brush" is perfect for small, isolated marks like dust spots. You simply click on the imperfection, and the tool automatically samples the surrounding pixels to blend it away.
How Do I Reduce an Image's Noise and Grain?
Old photos often have a grainy appearance, known as "noise." While some grain can add to the vintage character of a photo, excessive noise can be distracting. Most photo editing software includes a "Reduce Noise" filter.
When using this filter, it is important to be subtle. Applying too much noise reduction can make the image look overly smooth and artificial, losing fine details. Preview the changes and use the sliders to find a balance where the noise is less noticeable, but the important details of the photo remain sharp.
Get Started on Your Photo Project
Hopefully, using this guide to restoring vintage photos is a rewarding process that honors your family's legacy. By digitizing and repairing these precious memories, you create a lasting connection to your past that can be shared with everyone. With the right tools and a bit of patience, you can bring any old photograph back to life for a birthday, wedding, or memorial service slideshow.
Ready to start your project? Upload your scanned photos and begin the journey of restoring your family's history today.