The Original Slideshow Co. Blog Presents
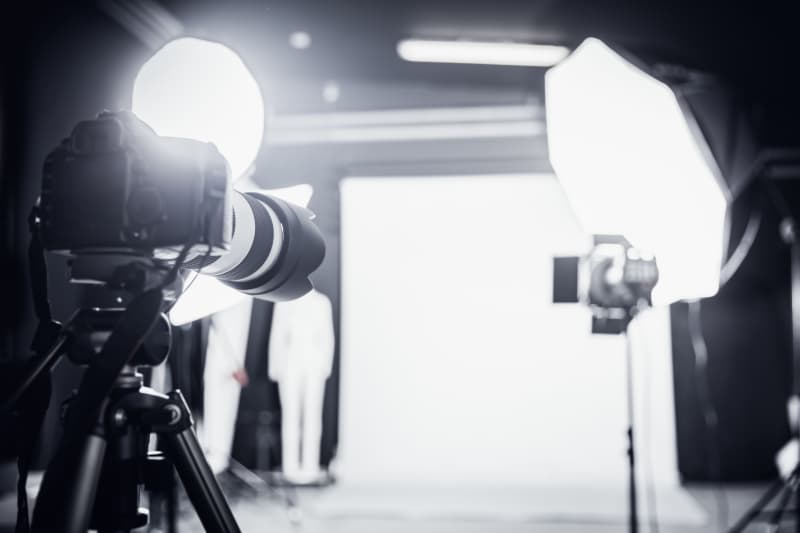
How To Properly Light Your Subject In A Photo
There are many different ways to light a subject for the best photo. The most important thing is to experiment and find what works best for you and the main object in your image.
How To Properly Light Your Subject In A Photo
There are many different ways to light a subject for the best photo. The most important thing is to experiment and find what works best for you and the main object in your image. Here are a few tips to get you started:
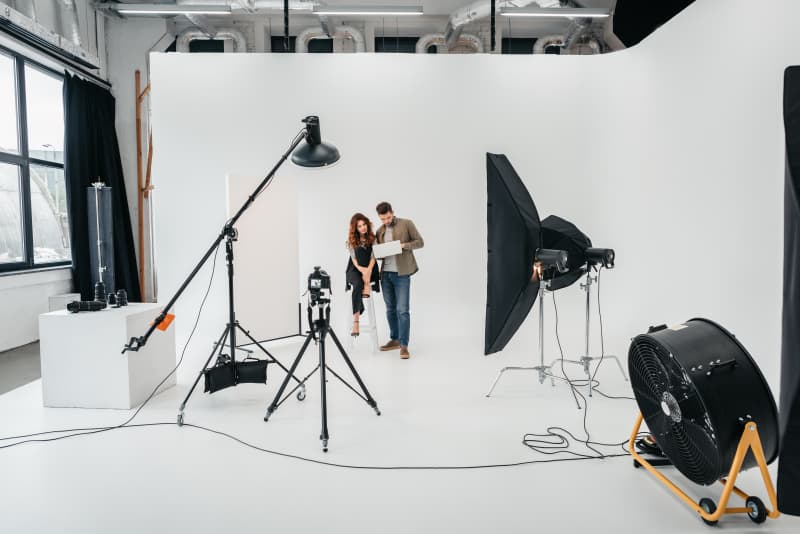
- Use a broad light source. A broad light source will create softer shadows and a more flattering look. You can use a diffuser or reflector to broaden a light source.
- Place your light source close to your subject. The closer the light source, the softer the shadows will be.
- Use different angles to create different effects. A light source placed directly in front of your subject will create a flat, unflattering look. Try placing the light source at a 45-degree angle to create more dimension and depth.
- Use fill light to reduce shadows. Fill light is a secondary light source that is used to fill in the shadows created by the key light. This will help to create a more evenly lit subject.
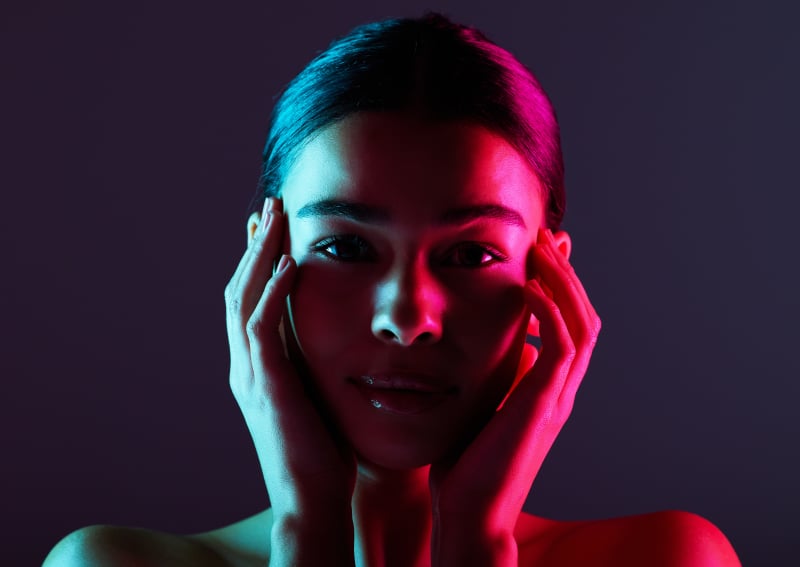
- Experiment with different colors of light. Different colors of light can create different moods and atmospheres. Try using white light for a natural look, or try using colored gels to create a more dramatic effect.
Here are some common lighting setups:
- Rembrandt lighting: This is a classic lighting setup that creates a dramatic look. The key light is placed at a 45-degree angle to the subject's face, and the fill light is placed on the opposite side. This creates a triangle of light on the subject's cheek.
- Butterfly lighting: This is a soft, flattering lighting setup. The key light is placed directly above the subject's head, and the fill light is placed below the subject's chin. This creates a shadow that resembles a butterfly on the subject's face.
- Split lighting: This is a dramatic lighting setup that creates a strong contrast between light and shadow. The key light is placed at a 90-degree angle to the subject's face, and there is no fill light. This creates a shadow that covers half of the subject's face.
No matter what lighting setup you choose, the most important thing is to experiment and find what works best for you and your subject. With a little practice, you'll be able to create stunning photos that capture your subject's beauty in the best light.
Better pictures make higher quality slideshows. Sharp, colorful photos pop on the screen when proper lighting is applied.