Preparing Pictures For A Slideshow
Blurry or pixelated photos can have a negative impact on your slideshow viewer’s experience. Small photos can also cause problems with clarity. But one aspect that should not be overlooked is cropping your photos.
Today, we’re going to look at the often neglected value of properly cropped images so that you can make your slideshow look amazing from the opening title to the closing credits.
Do I have to crop my pictures?
Everyone wants a fantastic looking slideshow. Whether your video is for a memorial service, wedding rehearsal dinner, birthday celebration, or graduation party, you want your photos to tell the story in a beautiful way. A poorly cropped photo can be a major distraction to the viewer and disastrous to the integrity of your video.
We have all seen slideshows nearly ruined with crooked white lines along the edges of pictures, screenshots that include your phone’s menu buttons or social media icons, or pictures taken of printed photos - that rarely looks great. Cropping your photos eliminates all of these problems and it is very simple to do. More on that below.
Reasons your photos need cropping
Overscanning
Overscanning happens when you scan an area larger than the photo. For example, if your printed photo is 4x6 and you scan it as a 5x7, your photo will have a white border around it.
Crooked Scans
When photographs are scanned, they need to be placed as straight as possible on the scanner otherwise crooked white lines will appear along the edges of the scanned image.

Screenshots
One popular method of gathering electronic photos is to take screenshots of images using your smartphone. This is not ideal for a couple of reasons. Your phone, when held vertically, is in portrait mode and may not be the same aspect ratio as the photo being taken. So what you get is a photo surrounded by your black background. Your screenshot may also display your phone’s battery life, wi-fi and cellular connection icons, among other nuisances like Facebook like buttons or comment boxes.
All of these items should be cropped out. But what’s left is a much smaller image than the original photo making your picture appear pixelated in your video. Keep reading to learn some better ways to move your image files from your phone to your computer.
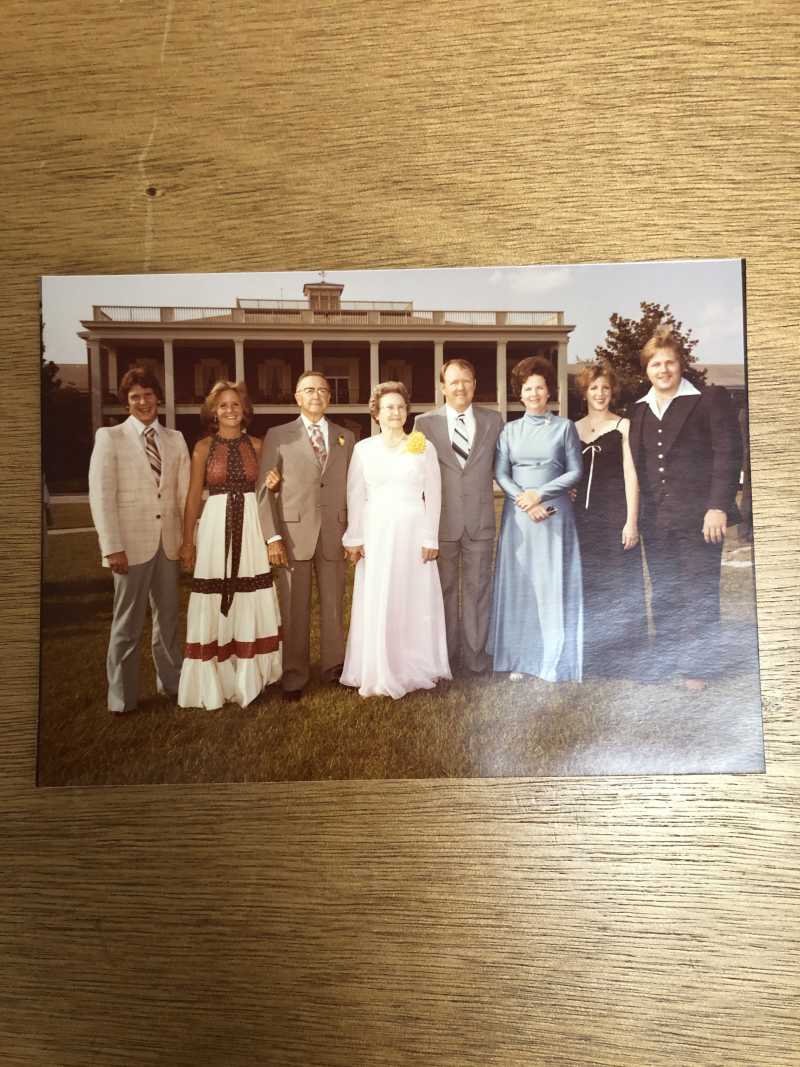
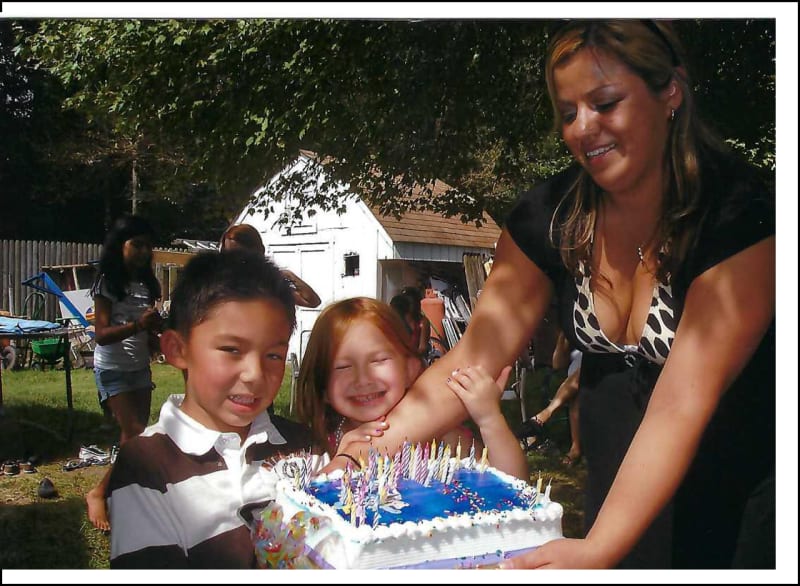
Taking a picture of a picture
This method of digitizing your pictures may be the easiest but it comes with two big problems. Paper photos tend to not lay flat or have some bend in the paper. Photos of pictures often need cropping to remove the object behind the image. For example, if your photograph is laying on your breakfast table when you take the picture, your digital image will more than likely have traces of your tabletop around the edges.
Lighting can also be an issue and cause a glare on your digital image. Be sure to look out for shadows and hot spots.
Be sure to check out our blog, “How To Scan Your Pictures And Get The Best Photo Quality For Your Slideshow” for the best practices for digitizing your printed photographs.
How Can I Get The Image From My Phone?
The Share Button One way to transfer your photos to your computer from your phone is by clicking the “Share” button on the picture. Clicking the Share icon opens a variety of ways to transfer your pictures and videos. Emailing the image file to yourself is an easy way to deliver it to your computer.
Dropbox, Google Drive, iCloud Using cloud services may be the fastest and easiest way to transfer your files to your computer. All you need to do is upload your photos to your cloud service of your choice using the Share button and then download them to your computer using the cloud’s interface.
Pro Tip: You can import your photos and video clips directly to your MilestoneSlideshows.com project from your Google Drive or Dropbox. Check out this video for a quick demo.
Connect Your Phone To Your Computer If your phone is connected to your computer using Bluetooth or USB, you can use your computer to access your photos and move them to your computer.
We made cropping your photos easy
Of course we did! Because we want our website to be friendly and simple for anyone to use. After you upload your photos to your account, all you need to do is click on the pencil icon on the image you want to crop and you will be taken to our photo editor where you can crop or rotate your photo with ease. Take a look at this awesome demo!
Are you ready for us to make your slideshow?
Your video producer is happy to help. Call or email today and your slideshow creator can assist you every step of the way.